This piece was originally published on April 19, 2021.
One easy way to cut down on the time it takes you to report each week is to utilize the list feature in your ONE LICENSE account. With a catalog of over 230,000 titles on ONE LICENSE, lists are an efficient way to organize your community’s favorite hymns and songs.
Building a list allows you quick and easy access to the correct version of the titles your congregation uses most frequently. You can build as many different lists as you would like, and you can organize them by any theme or topic that is helpful for you (for example: liturgical season, type of service, frequently used, hymnal section, etc.). After you have built your lists, you will then be able to report titles directly from the lists rather than needing to search the full database.
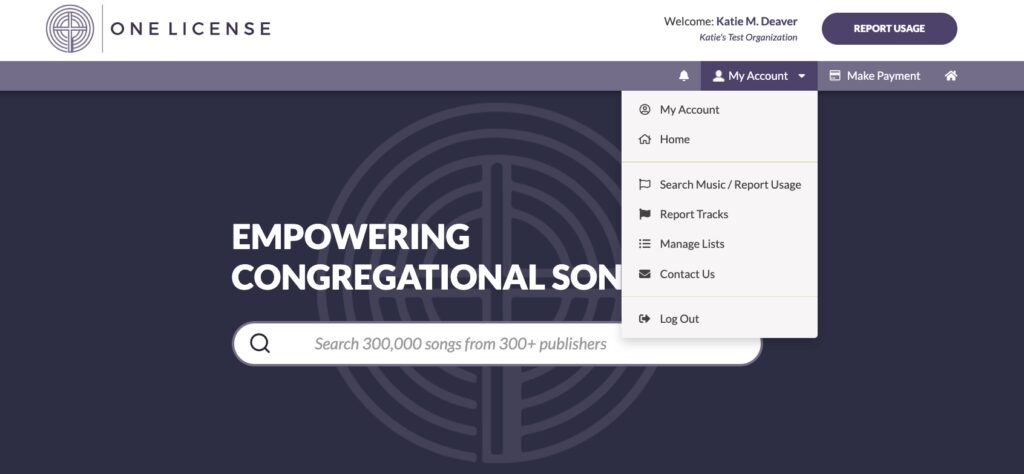
To create a list, log in to your account and then select My Account > Manage Lists.
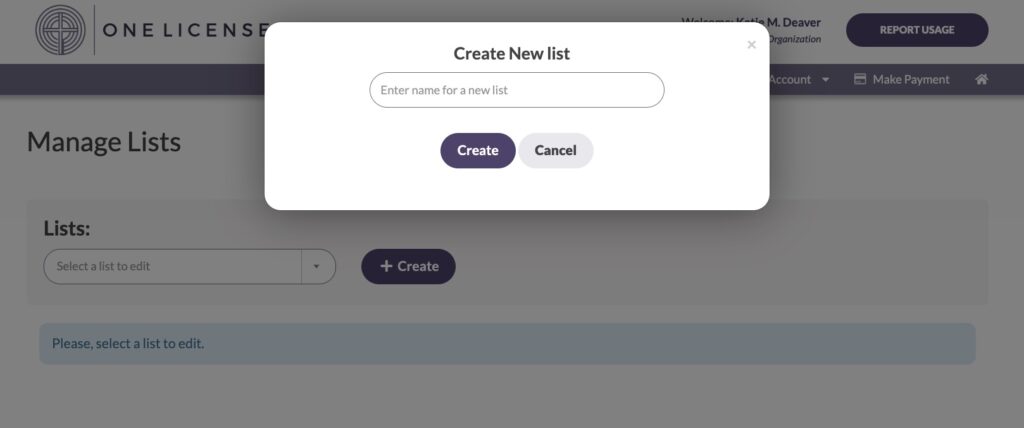
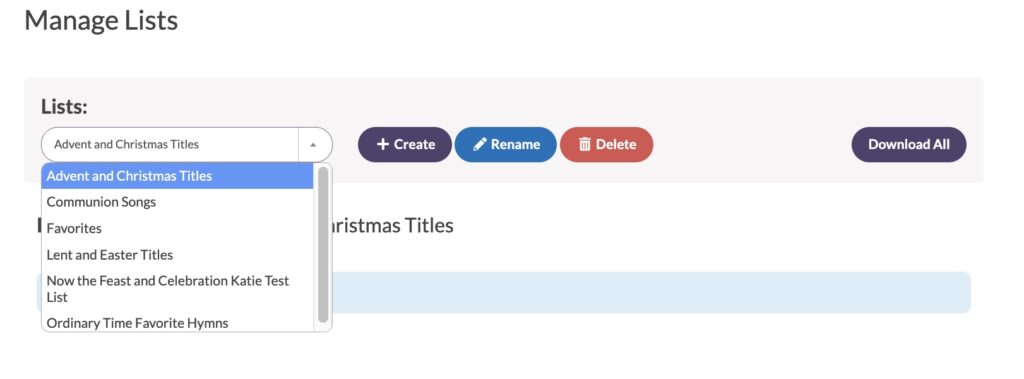
On the Manage Lists page, click on the purple “+ Create” button. A pop-up window will appear and you will be able to assign a title to your list. Once you have typed in a title, click on “Create.”
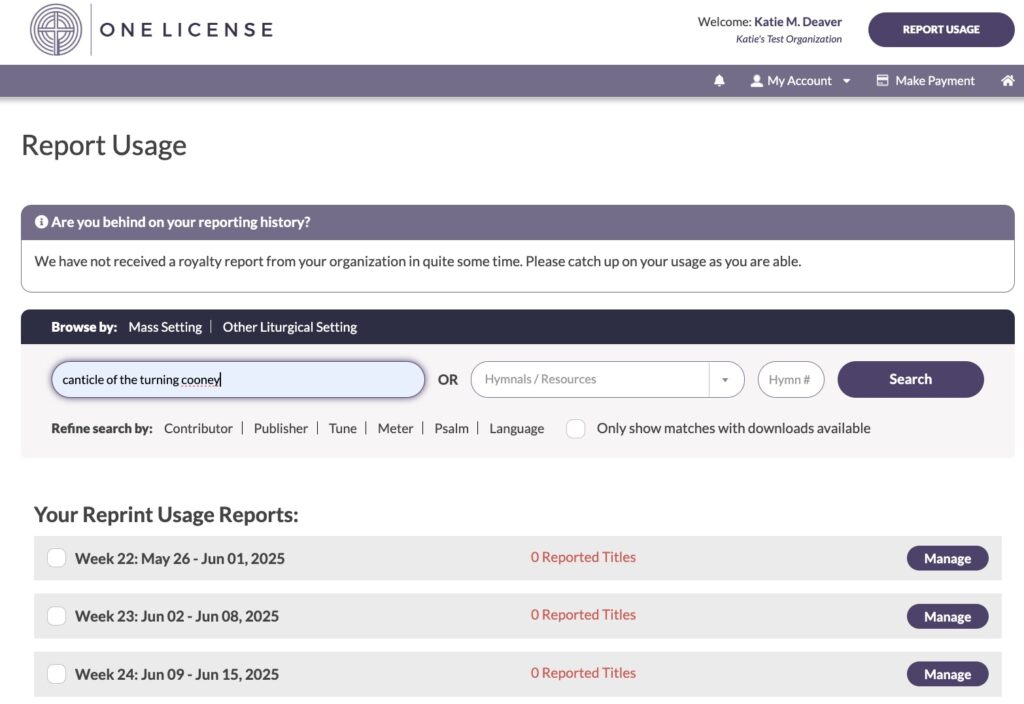
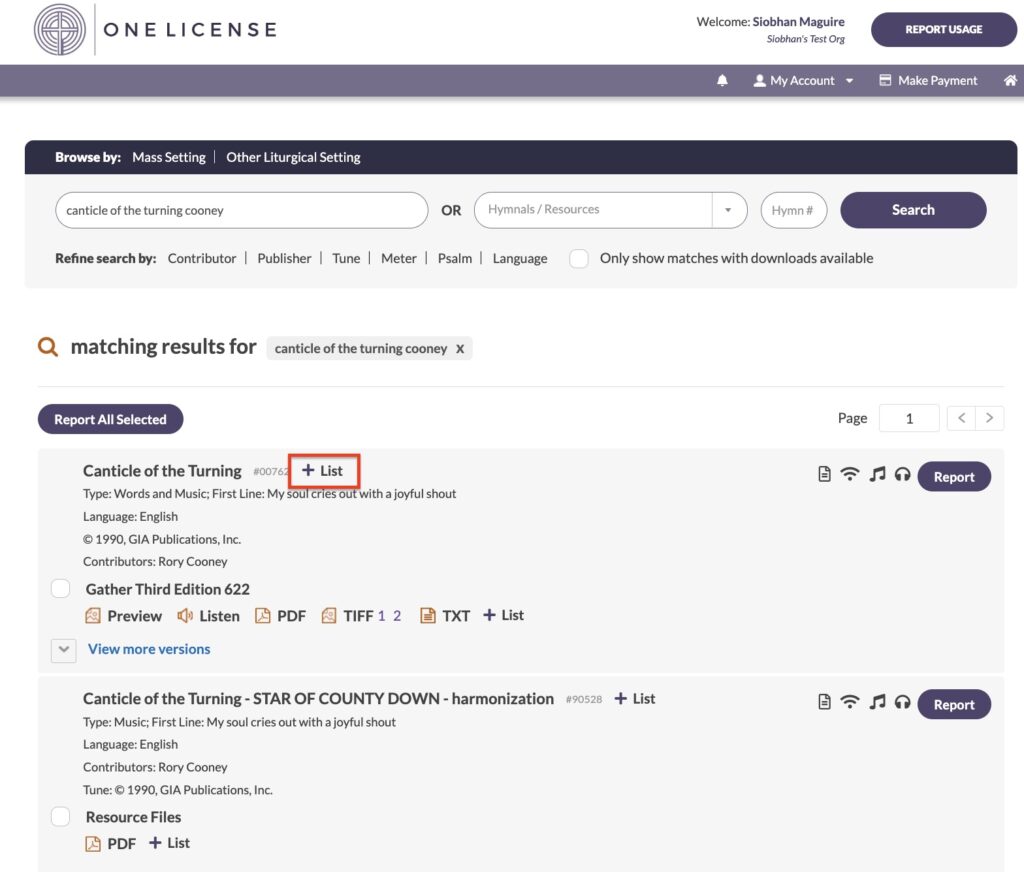
Now that you have created a list, you can begin adding titles. Click the purple Report Usage button, and then search for the title you would like to add by typing the title and contributor last name into the search bar.
When you have found the correct entry, click on the “+ List” button to the right of the song title.
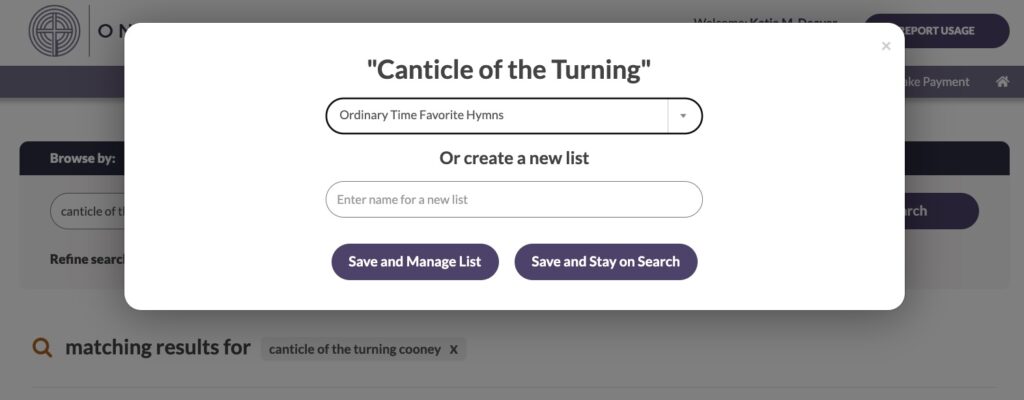
A pop-up window will appear and you will be able to either add the title to one of your existing lists or create a new list. Select the list of your choice and then click either “Save and Manage List” (if you are done adding titles to the list) or “Save and Stay on Search” (to continue adding more songs to the list).
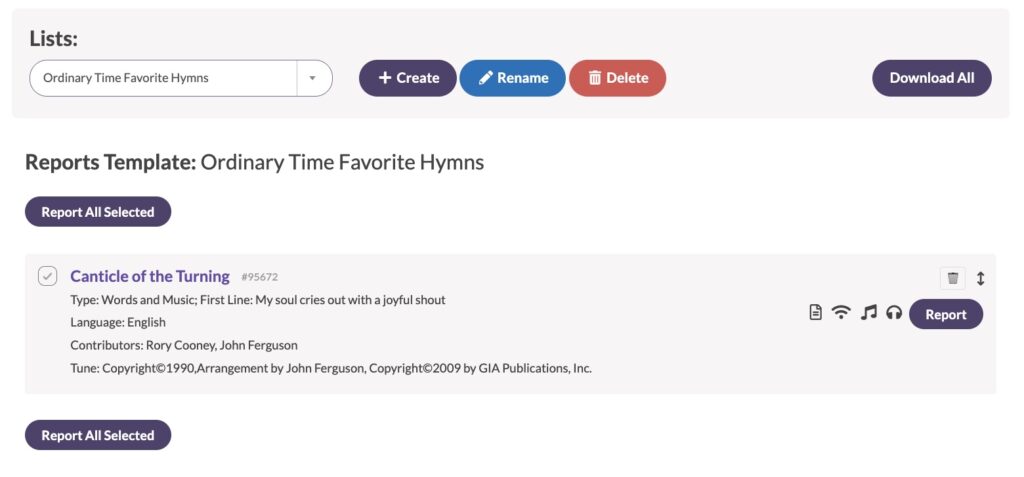
Once you have created your lists and added songs to those lists, you can easily access them to complete your reporting. To do this, again click on My Account > Manage Lists. On the left-hand side of the screen, you will see a drop-down menu that contains your lists.
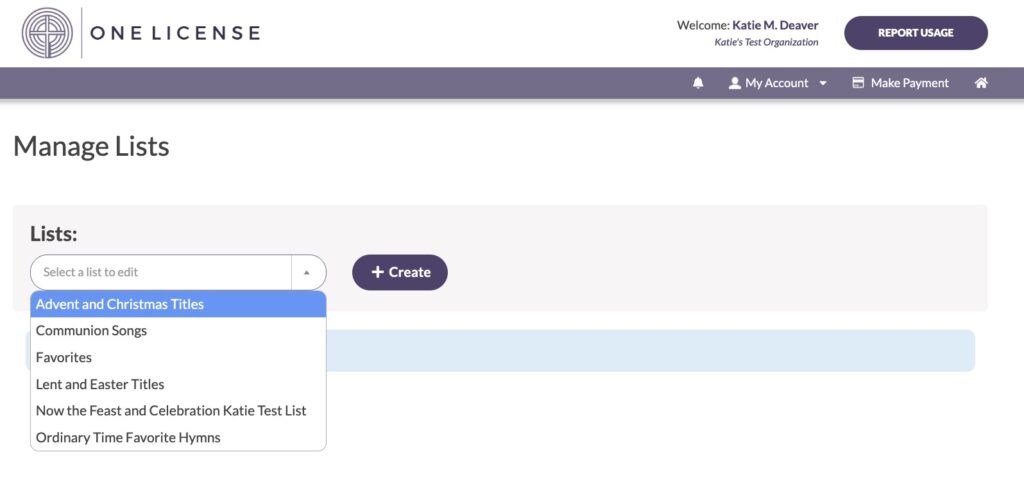
Select the list you would like to report from. All of the songs included in that list will now show on your screen.
Check the box on the left-hand side of any titles you would like to report and then click on the purple “Report” button on the right-hand side or the purple “Report All Selected” button at the top or bottom of the listed titles. Your reporting options will pop up the same way they do from the main reporting page, and you will be able to select the week you want to report the title in as well as the number of services and the usage type. You can then choose to either save and stay in the list or save and view your report for that week.
Note: You can always click Report Usage to return to the main reporting page and / or to search for titles that are not included in your lists.
All users with login privileges (account owners and sub-users) can access any of your created lists to add titles to them or to report titles from them. Songs can be added to lists at any time, so there is no need to try and add every song you use frequently all at once. When you are doing your regular reporting, just take a few extra seconds to click the “+ List” button when you come across titles that have many similar entries or songs that you use frequently or that you know are organizational favorites!
While initially building lists may require a little time and effort, they will save you time in the long run. Your lists will enable you to keep track of the titles you utilize most frequently to save you time and effort when doing your reporting. Also, if you use the same titles for annually recurring events, your lists can save you time in your planning as well!
Photo copyright: Tara Winstead. This image is available for download at www.pexels.com.